//Google Analytics
Showing posts with label potato. Show all posts

Thursday, April 11, 2013

Container Potato Plant Update

Several months ago I read that potatoes do really well in container gardens and I just knew it was something I wanted to try! I posted about my beginning ventures HERE. My potatoes were growing really well for a couple of months. At one point there were three different sprouts (even though I only planted two sprouted potato halves) and one of them even got over 2 feet tall! 

Well, I finally decided it was warm enough outside to put the plants on the patio (AKA: concrete slab, but patio sounds nicer) and then the tallest one died! I'm not sure if it dried out too quickly or maybe it got too cold one night. Either way, it's wilted and sad. I gave up hope of it bouncing back.

I gave in and dug it up to see if anything was underneath and lo and behold!


A tiny tater!!!! Ask my husband, I was WAY too excited about such a little potato!


But I grew it! With my own two hands I planted it and cared for it and it grew! 


I know it's not much, but I'm thrilled. I'm even more excited to see what else is under the dirt!!


This is what's left. This plant is over a foot tall and appears to be doing well. After taking this picture I decided to replant the one I dug up...just in case it wasn't quite dead yet. The base of the stalk was still firm and so I thought I'd give it another chance. 

Hopefully in my next update I'll have bigger and better potatoes to show off!!

Were you excited like I was the first time you harvested something you grew? What was it? What's your favorite plant to grow in your garden?

Till next time,
Catherine

Tuesday, February 12, 2013

Grow: Container Potato Plant

Did you know you can plant potatoes in containers and they'll do great? According to many internet sources they do! Since we're still living in a townhouse, we don't have our own land to garden on so I'm trying to do what I can to have a lot of green! 

I've been on the hunt for a cute barrel for quite some time. I had seen them at Lowe's and Home Depot but they just seem so expensive! Like this one at Lowe's is super cute but $35 seems steep to me! 


And then I found this wooden beauty! My husband and I went into a huge estate sale store that was going out of business. It was priced at $7...not bad! But then we get to the counter and we are told everything is 40% off! We paid a little over $4 for this cool little barrel! 


It's not quite as big as I wanted but for $4 how can you go wrong? It's maybe a foot tall. 


There's a tiny hole in the bottom too. Not sure why, though.


We decided to line it with a plastic bag just to be safe so it wouldn't rot the wood. It was pressure fit, sanded and sealed with something so I think it would have been fine, but it can't hurt to have that layer of protection. 


I didn't want to drown my taters so I gathered some old decorative rocks and stones to lay in the bottom.


 Then we filled it most of the way with soil.


We left about 4-6" open from the top. 


I grabbed our quite sprouted potato that I had cut in half a couple days beforehand. You can tell I've been hoping to find a good barrel like this for a while! 


I then set them on top of the soil. Because the roots were so long already, I made sure to bury them into the soil first.


About another 2-3" of soil on top, some water and we're good to go! 


Now we wait! I really hope we get some little potatoes in a few months!


I got my first sprout in just a couple of weeks!


 After over 3 weeks, they've both sprouted and are even growing leaves. I'm so excited!


It's important to note that if the potatoes start showing to cover them up with another inch or two of soil. You want the stem to be under soil by about an inch and a half. 

Stay tuned for updates on the potato growth!

What are some veggies you've grown in containers? Which ones seem to work the best?

Till next time,
Catherine

Thursday, November 29, 2012

Cook: Crispy Sweet Potato Fries


Mmmm....sweet potato fries have been a favorite of mine for several years now! They're heavenly and delicious and I've heard they're healthier than regular fries. Don't quote me on that, I haven't fully done my research yet! 

Nevertheless...they are delicious.

But they are the devil to make!

I have made sweet potato fries so many times and, although they usually still taste good, the consistency is never right! They're either burnt or soggy. Ugh. Am I the only one who's been dealing with this? 

Well one day on fabulous Pinterest, I came across this blog The Art of Doing Stuff with an eye catching post title, Guaranteed Crunchy Sweet Potato Fries. I stopped dead and immediately put "sweet potatoes" on my grocery list. 

Give this a try and let me know how it turns out!

Ingredients: 
  • 2-3 medium sized sweet potatoes
  • A few tablespoons of arrowroot powder or corn starch
  • A few tablespoons of olive oil (or you choice of oil. I try to stick with EVOO as it's usually the healthier choice)

Directions:

Wash the sweet potatoes. Also preheat your oven to 425.

Now cut them into medium size fries. Not too thick like steak fries but not shoestring either. Peeling them is up to you. I chose not to in order to save time and the skin doesn't bother me. 

Fill up a pot with cold water and soak your fries anywhere from an hour to all day. This step helps remove the starch which will make them more crispy later. You can even drain and refill the pot a couple times if you'd like. 


Next, drain the pot of water and toss the fries in a bag with a few tablespoons of corn starch. Shake the bag until the fries are evenly coated.


They don't need to be covered so thick that they're all white, but a light coating will do just fine. 


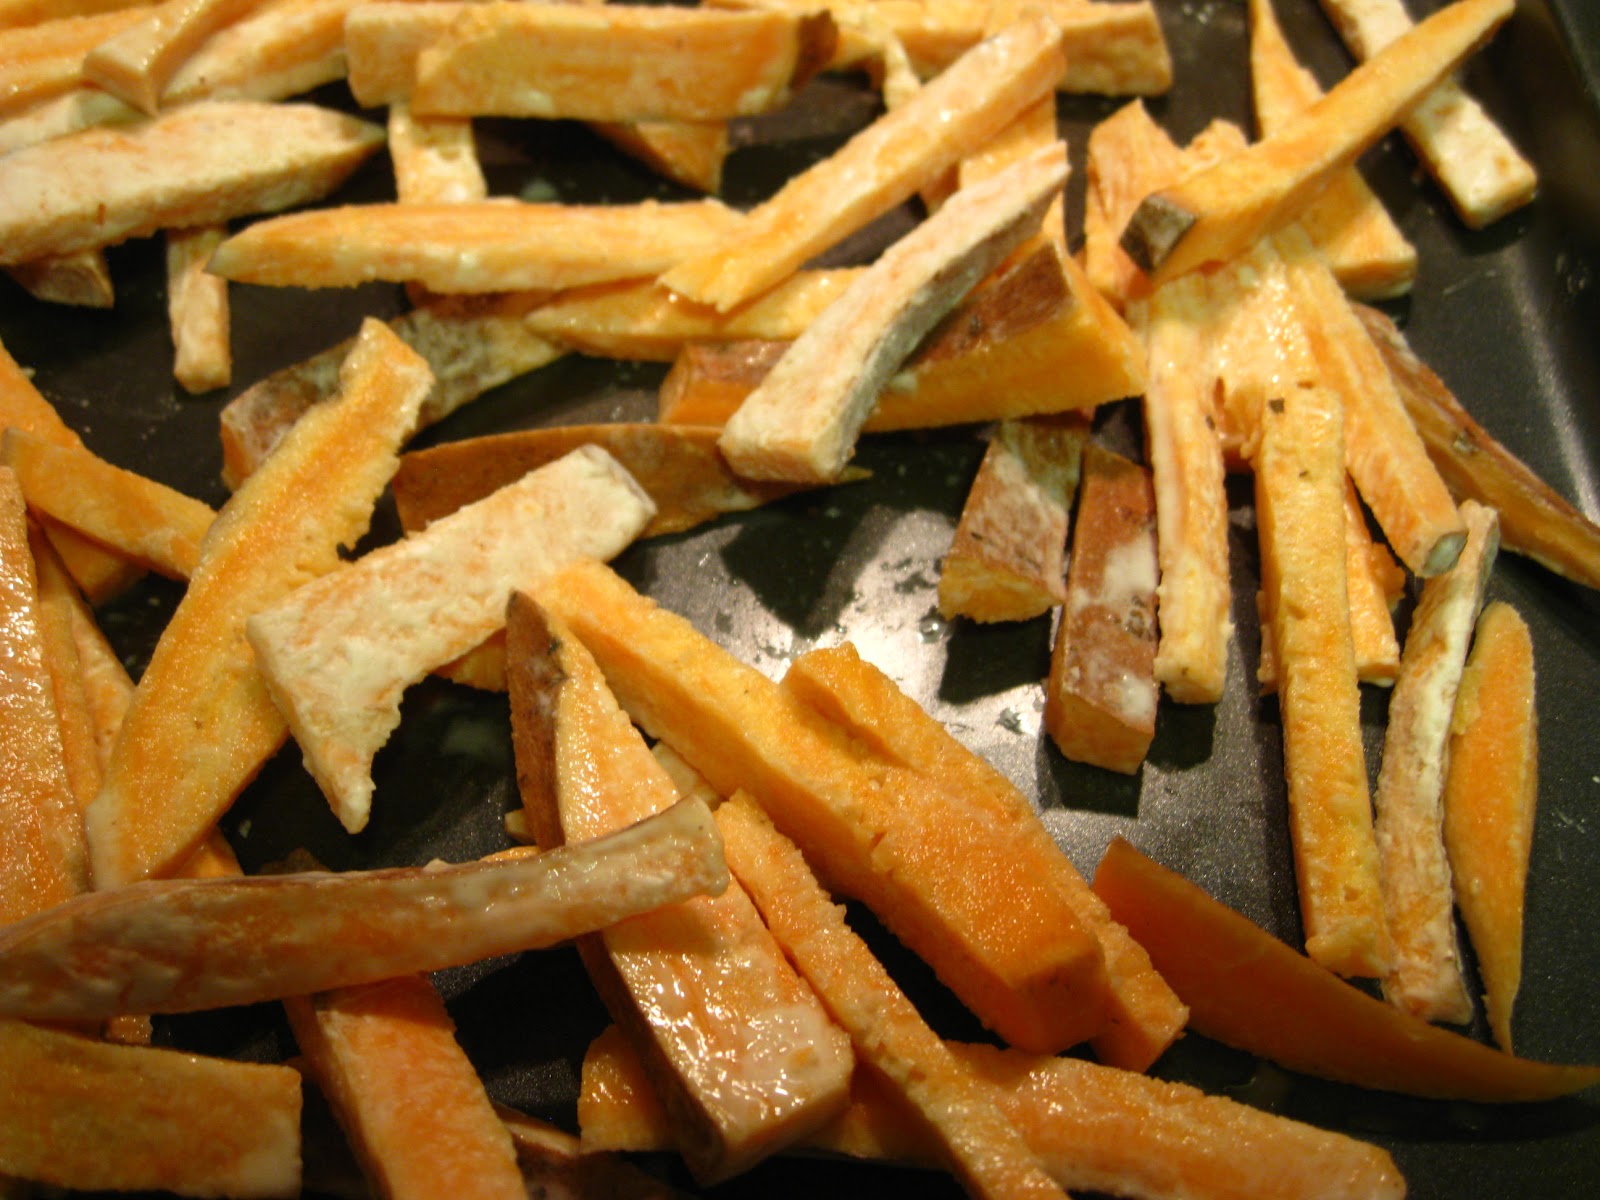
Spread them onto a cookie sheet.


Now drizzle your oil on the fries. Get in there with your hands and make sure there's a nice even distribution of oil on all the fries. Start with a couple tablespoons and add more as you need it. Generally, the more oil, the crispier the fries. This is also the time to sprinkle salt or any other spices you want to add. I prefer not to add salt because I eat the fries with ketchup and there's plenty of saltiness in ketchup.


Be sure to spread the fries evenly on the cookie sheet so they're not really touching. Bake them for 15 minutes. Don't forget to flip them about halfway through! Check them at 15 minutes. If they're still not quite ready, flip them again and pop 'em back in the oven for another 5 minutes or so.


When they're done, they should look as mouth watering as this!

I had a tough time with the fries sticking to the cookie sheet but I think it was just that I didn't flip them soon enough. Making the perfect sweet potato fries is definitely an art form because it is so time consuming and tricky to get it just right! The results are so worth it! If it doesn't work just right, keep trying! It takes time to get them the way you like them. I've just accepted it's not the easiest food to make and never will be unless you buy the prepackaged kind from the store! 

If you enjoy your sweet potato fries with ketchup, check out my blog on making homemade ketchup that is delicious and much healthier than store-bought. It's easy to make too!

Do you prefer sweet potato fries or good ol' French fries? What's your method to making them just right? Deep-fry or bake?

Till next time,
Catherine

Be sure to check out the awesome blogs where I've linked up this post! Spread the blog love! 


I've linked up to Make Your Own Mondays 9/16/13 with Nourishing Treasures!


I've linked up to Mostly Homemade Mondays Week 46 with Frugal By Choice, Cheap By Necessity, Homegrown and Healthy, Scratch Mommy, and Mindful Mama!


I've linked up with Plucky's Second Thought Link Up #12 with Plucky's Second Thought!


I've linked up to the In and Out of the Kitchen Link Party #34 with Feeding Big!