//Google Analytics
Showing posts with label bake. Show all posts

Thursday, May 16, 2013

Bake: Whole Wheat Banana Bread {King Arthur Flour Recipe}


Banana bread is such a delicious and classic comfort food. Plus it really helps enforce the "waste not" mindset. Did your family recently go on a banana kick then everyone gave up andw left you with a bunch of browning bananas? No problem! Wait until they're just right and make banana bread!

I petitioned Facebook for a good banana bread recipe and one friend suggested using the recipe on the side of King Arthur brand flour. That's the brand I use so I figured I should give it a try! It turned out perfectly! I altered the recipe a little but not too much. I think just less sugar and whole wheat flour were my changes. 

Ingredients: 
  • 2 cups (about 4 or 5) very ripe bananas, mashed
  • 1/2 cup of olive oil
  • 3/4 cup of sugar
  • 2 large eggs
  • 3 Tablespoons milk
  • 1 teaspoon vanilla extract
  • 2 cups of whole wheat flour
  • 1 teaspoon baking soda
  • 1/2 teaspoon baking powder
  • 1/2 teaspoon salt

Topping for extra flavor:
  • 2 Tablespoons sugar
  • 2 teaspoons ground cinnamon

Optional: 
  • 1/2 cup of chopped walnuts

Directions:


Gather your ingredients. 


Ultra ripe bananas. The more brown they are, the sweeter they are! 


Oh and don't drop an egg like I did. Oops. 


Preheat your oven to 350ºF then grease and flour a 9x5 inch loaf pan. 


Peel your bananas and put them into a large mixing bowl. 


Mash them well. 


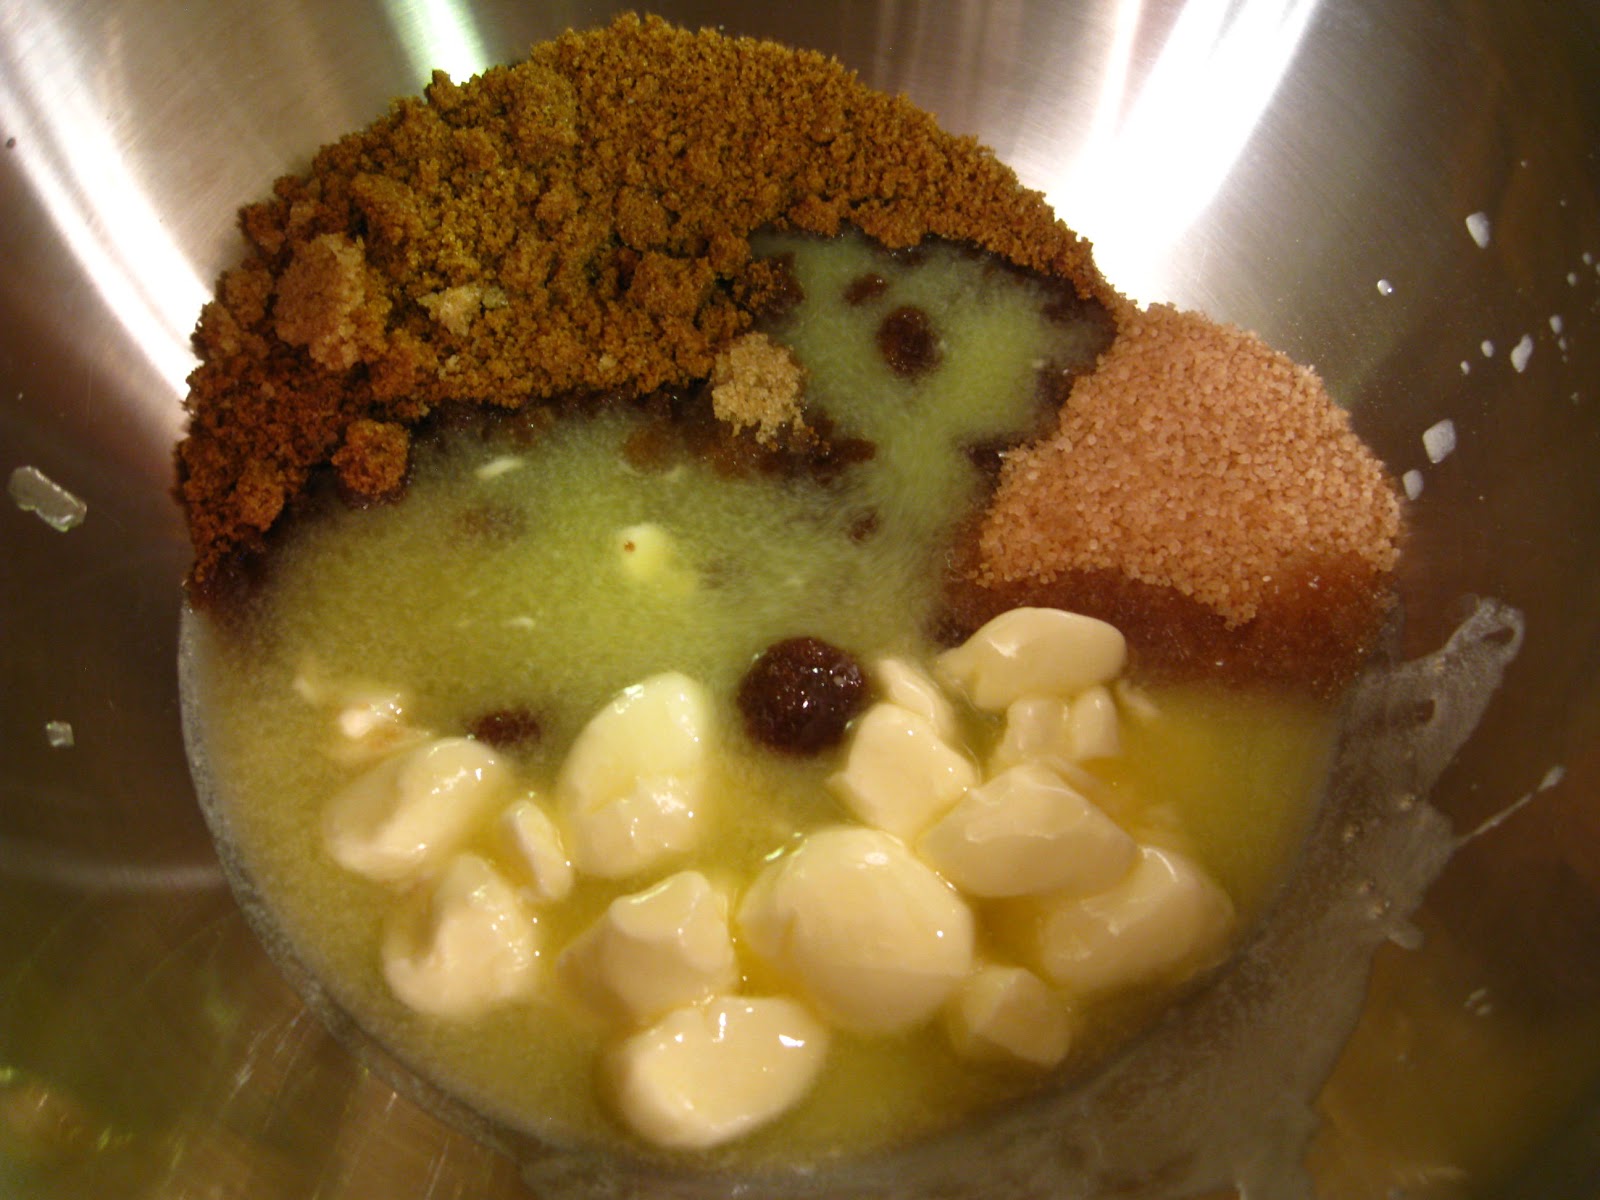
Add the oil, sugar, milk and vanilla and mix them together well. 


Now mix in the flour, baking soda, baking powder and salt. Thoroughly mix them together. Be sure to scrape the sides so nothing is left unmixed. This is where a stand mixer would come in handy!


Pour the batter into your greased and floured loaf pan and spread evenly. 


Stir the cinnamon and sugar together and sprinkle on top of the batter. 


Put it in the oven for about an hour or until a toothpick or knife comes out of the center clean. 


In an hour it should look something like this! Crumbly and delicious. (Sorry for the blurry photos!)


Let it cool for about 10 minutes then remove the loaf from the pan and let it finish cooling on a cooling rack.


If you can wait that long to dig in!


We actually don't have any cooling racks in the house which is odd, but then again I don't do a ton of sweets baking. So as you can see, my trusty cutting board did the job just fine. 


Baked to perfection.


My husband LOVES banana bread so when it was cool enough to handle, we cut that sucker open!


The directions on the flour bag say you get 16 slices but I think we managed 18. It just depends how thick or thin you want them. 


Spread a little butter on there and you're good to go! No wait, I take that back. Cold, hot, toasted, buttered...any way is a good way to eat this banana bread! Pouring the batter into a muffin tin is also a delicious alternative!


Mmm. 

I've actually decided that from now on it should be called banana cake because "bread" is such a deceiving word. It's cake...come on now, people. Bread doesn't have that much sugar in it! Well, it shouldn't anyways. 

What's your favorite banana bread recipe? Do you buy bananas specifically for making banana bread or is it just a happy accident when a bunch gets brown in the house?

Till next time,
Catherine

Tuesday, April 16, 2013

Cook: Seasoned and Roasted Chickpeas


If you're searching for a healthy snack, look no further! 

Simply roasting chickpeas (garbanzo beans) with some olive oil and seasoning salt makes such a delicious snack! I had heard of this before but honestly was a little skeptical. But now, I wish I had made these ages ago!

For my book club meeting last weekend I wanted to make a little snack that everyone could enjoy. One lady is vegan, another eats gluten-free and everyone is pretty health conscious. I found the original recipe from Oh She Glows, a wonderful vegan lifestyle blog.  I took the basic concept but used different seasoning, while still keeping it basic. 

Overall this recipe is delicious and easy to make, but, it does take time. It's totally worth it, though.

Ingredients:
  • 2 cans of garbanzo beans/chickpeas
  • Seasoning salt
  • Olive oil

Directions:


Preheat your oven to 425. Boil the chickpeas for a few minutes then remove from the heat and let cool for about 30 minutes or until you can safely handle them.


Strain the chickpeas. You can run cool water over them if you're short on time. 


Get your seasonings out! You could do anything with this recipe! I using Seasoning Salt and olive oil but you could do just salt and pepper, Italian spices, cinnamon sugar...whatever your belly desires!


Lay some aluminum foil or parchment paper on your baking sheet and drizzle olive oil and sprinkle your seasonings. 


 Pour the chickpeas on top.


Then sprinkle and drizzle some more! Roll them around with your hands to make sure they get evenly coated with olive oil and your seasonings. 


Bake in the oven for about 45 minutes, rolling them halfway through to ensure even baking.


Let cool and enjoy!


So delicious! 

If you've never had chickpeas, this is a great way to try them. I like them cold on my salad but this is the first time having them hot and it was so good! They were a hit at my book club meeting! I thought they would be a little messy because of the olive oil but they're not at all so it's no biggie to eat them by hand like popcorn! 

You can bet I'll be making more of them soon!

What seasoning(s) would you use? Do you prefer to call them chickpeas or garbanzo beans? I've always wondered, are they peas or beans? 

Till next time,
Catherine

Monday, January 21, 2013

Cook: Maple Mustard Chicken


Ok, I know that's not the most appetizing title but trust me when I say this stuff was good! The original recipe can be found here

Ingredients: 
  • 4-6 boneless, skinless chicken breasts or strips
  • 1/4-1/2 cup sweet and spicy mustard
  • 1/4-1/2 cup maple syrup
  • Salt and pepper
  • Olive oil
  • Parsley and/or chives for garnish

Directions:


Preheat your oven to 400 degrees. Mix together the mustard and maple syrup. Don't skimp and use crappy syrup. Get REAL maple syrup...you know...the kind from a tree! Mrs. Butterworth and Aunt Jemima aren't cuttin' it anymore. Not in this household anyways! I used 1/4 cup of each but I think next time I'll do 1/2 cup of each so there's more sauce. Just do it however you think it'll taste best! If you like mustard, add more mustard!

This is how I made the recipe, but I think it would be even better if the chicken was marinated overnight in this sauce. That's how I plan to make it next time. 


Lay your chicken out in an oven safe dish.


Drizzle your EVOO on top.


Salt and pepper those bad boys!


Pour on the maple mustard dressing. 


Sprinkle some parsley and/or chives (I did both because I already had them mixed) for some pretty garnish. Just do it, it's not like they taste bad! Or like anything for that matter.


Bake for about 30 minutes. The downside to this is that the sugars in the maple syrup burn and make a horrible black crust on the dish. Another note for next time, either use a disposable baking pan or line your dish with aluminum foil! It's nothing a good soak in the sink won't cure, but still, if you're like me, you hate dishes and especially ones that require more work!


Add a little salad on the side and some fresh pineapple and there you have it! My husband LOVES pineapple so I bought one at the store the other day and knew he'd love to see it cut up and ready to eat.


A very delicious dish that will be sure to please your family! My husband couldn't get enough of it! 

Are you a fan of mustard? What kind do you like to stick with? This recipe would be great with just about any type of mustard! 

Till next time,
Catherine


Monday, December 3, 2012

Bake: Soft & Chewy Healthy Cookies


I never bake cookies! I'm not sure what possessed me to make these. No wait, yes I do. My husband and I went to the gym on a Monday and on Tuesday he said, "You know what I really want? Cookies! We should make cookies!" Well hot dog, let's cancel out that workout! 

I jumped onto Pinterest to see if I could find a good cookie recipe and sure enough I was able to find one where we actually had the ingredients! Apple A Day posted a great recipe that guarantees the softest, chewiest, most delicious chocolate chip cookies! As usual, I altered the recipe a little, but the original recipe can be found here

Her recipe calls for all purpose flour, we only buy whole wheat. The original recipe also says chocolate chips but all we had were white chocolate! No matter to me, still delicious. Surprisingly I actually had exactly the right amount too! And I always use raw sugar instead of that bleached crap. She also uses a stand mixer in her recipe. I'm not fortunate enough to have one of those quite yet but the recipe works without one! 

Onward to deliciousness!

Ingredients: 
  • 3/4 cup unsalted butter, softened
  • 3/4 cup brown sugar
  • 1/4 cup granulated sugar
  • 1 egg
  • 2 teaspoons vanilla extract
  • 2 cups whole wheat flour
  • 2 teaspoons cornstarch
  • 1 teaspoon baking soda
  • 1/2 teaspoon salt
  • 1 cup white chocolate chips, or regular chocolate, dark chocolate, even peanut butter chips


Directions:

Preheat your oven to 350 degrees. It will be ready by the time you're done putting the cookie dough onto the cookie sheets. 


Soften your butter, or in my case, soften half and melt half...oops. Mix together the butter, brown sugar, and regular sugar. 


It should be fairly creamy. 


Then mix in the egg and vanilla. If you look closely between these last two pictures, the egg thickened the mixture.


Now mix in your flour, corn starch, baking soda, and salt. Don't forget the salt!


I found it easier to add in the chocolate chips after a dough formed. It should be thick and not sticky.


Make small cookie dough balls and arrange them on your cookie sheet. I used a tablespoon to measure out the same amount for each. 


They don't spread out very much but allow them to have space. 


Put them in the oven for 8-10 minutes. The original recipe says no more than 10 minutes and I ended up doing an extra 5 because it didn't look like they were done. I was deceived by the color because of the whole wheat flour! If you use regular flour, you'll see the edges brown but not the top. That's done enough! Unless you want them crunchier. If you use whole wheat flour, just take them out at 10 minutes...they'll be done. 


Take them out and put them onto a wire rack but put the rack on top of the cookie sheet for about 5 minutes. Then you can put the wire rack on the counter or wherever to cool down the rest of the way.

Delicious! My batch made about 29 cookies but the original recipe says 3 dozen. Hers must have been a bit smaller than mine! My cookies ended up being a bit crunchy but still delicious! 

I didn't get any creative pictures because I wanted to wait till they were cooled off so as not to burn myself! I ended up forgetting to get pictures after that and by the time I remembered they were all gone! My father-in-law and brother-in-law came to visit and they devoured them! Guess I'll just need to make another batch!

Do you prefer soft, chewy cookies or crunchy ones? Do you have a favorite recipe for classic chocolate chip cookies?


Till next time,