//Google Analytics
Showing posts with label treat. Show all posts

Thursday, November 21, 2013

{No} Bake: Christmas "Coal" Rice Krispies Treats

Holiday_Badge

It's time for my third installment of the DIY Christmas Series I'm participating in with a great group of blogging friends! My good friend Joyce over at The Skinny Pear is the mastermind behind this awesome series to get you ready for Christmas with all things DIY! 


Know someone who deserves some coal in their stocking this year? Don't know what to get them for Christmas? How about making them their very own coal? Delicious rice krispies treats coal! If you know how to make rice krispies treats then this will be easy for you. Even if you never have, it will be easy. It's an easy recipe that anyone can make. Not to mention it's a yummy little sweet treat! As usual, the original recipe can be found here but don't expect it to look like my version!

Ingredients:
*Side note: I used regular food coloring when I did this but I would highly recommend using a natural food coloring like this set from India Tree made with vegetable colorants or even activated charcoal powder.

Directions:


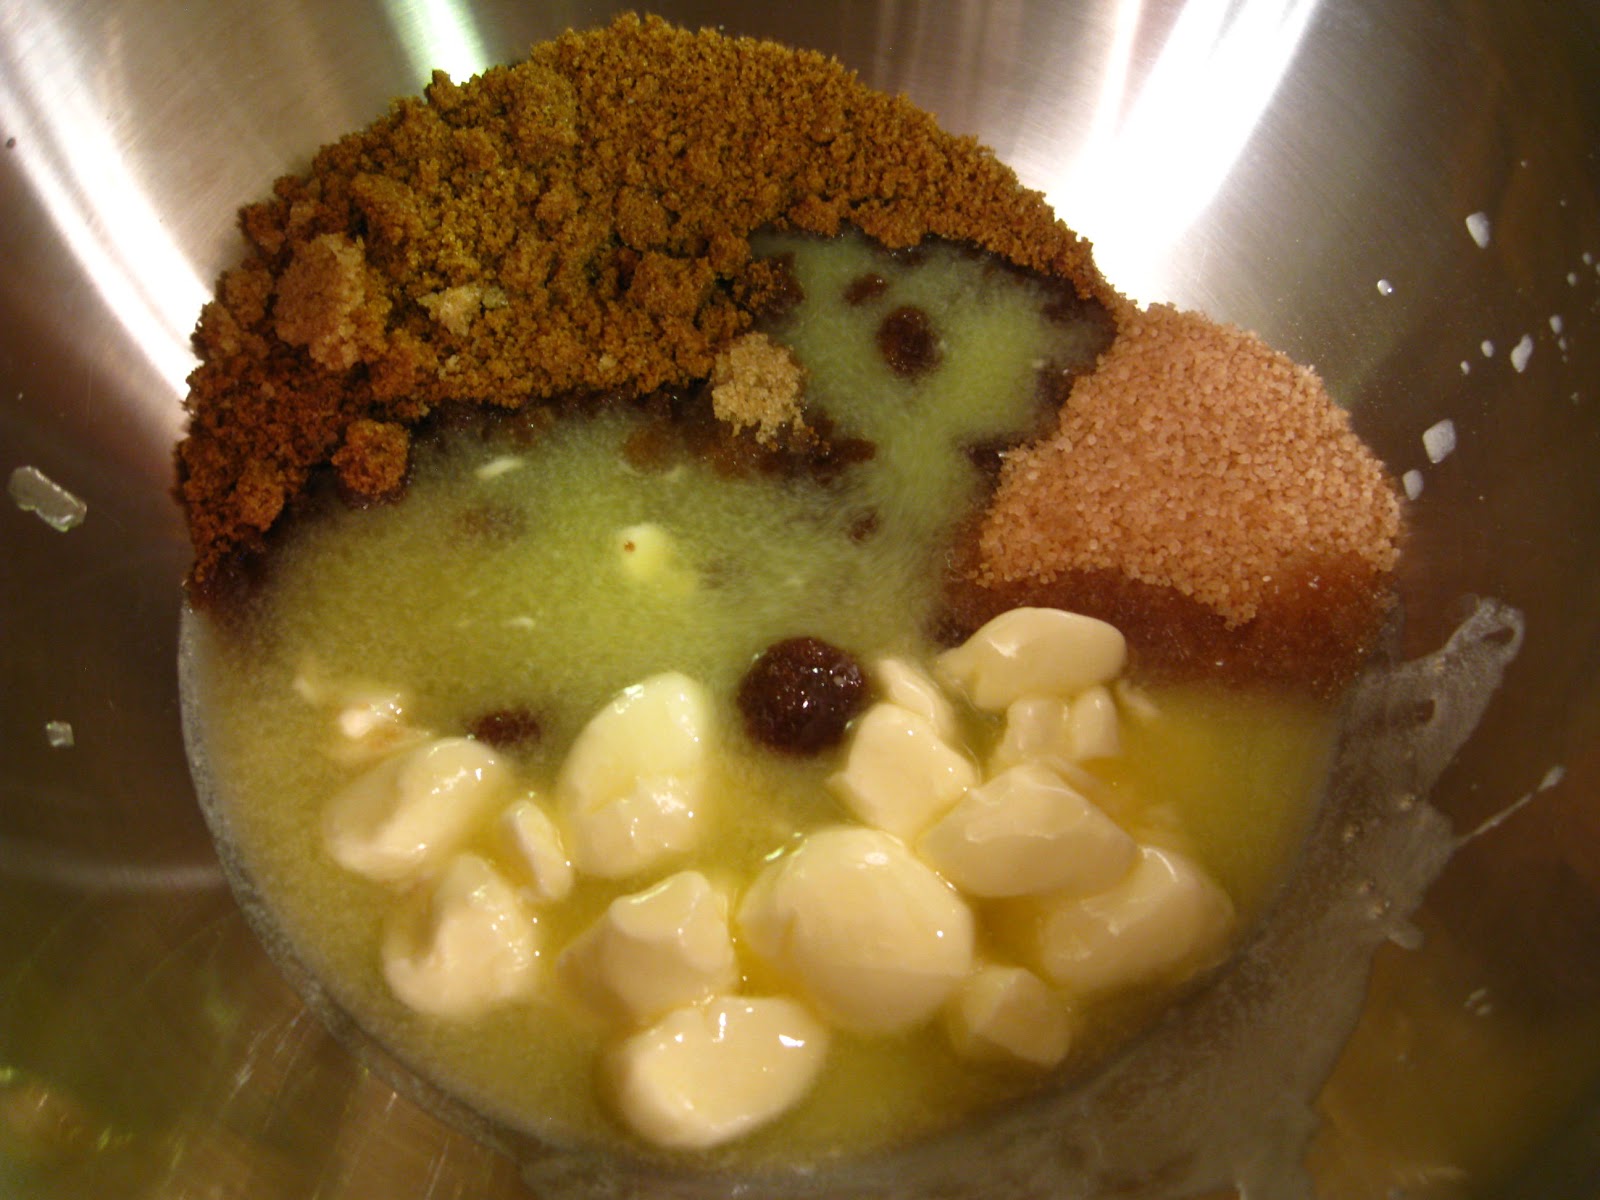
Melt your butter and marshmallows in a saucepan. The trick is to not get impatient (tricky for me) and keep it on low heat. You don't want them to burn!


Pour your Cocoa Krispies into a bowl. Crush your Oreos in a food processor or blender. I used a blender and it was quick. You could even get mint Oreos for another bit of flavor! One cup of crushed Oreos was maybe about 10 cookies. Oops, I forgot to count them first! It's not rocket science, though!


Stir the marshmallows frequently so they melt evenly. 


Mix in your food coloring and vanilla. 


When it's ready it will be nice and creamy. See how mine isn't quite black, but almost a purple-ish gray? Oops #2. Should have used more food coloring!


Now pour it over your Krispies and crushed Oreos mix. 


Try to "fold" more than "stir."


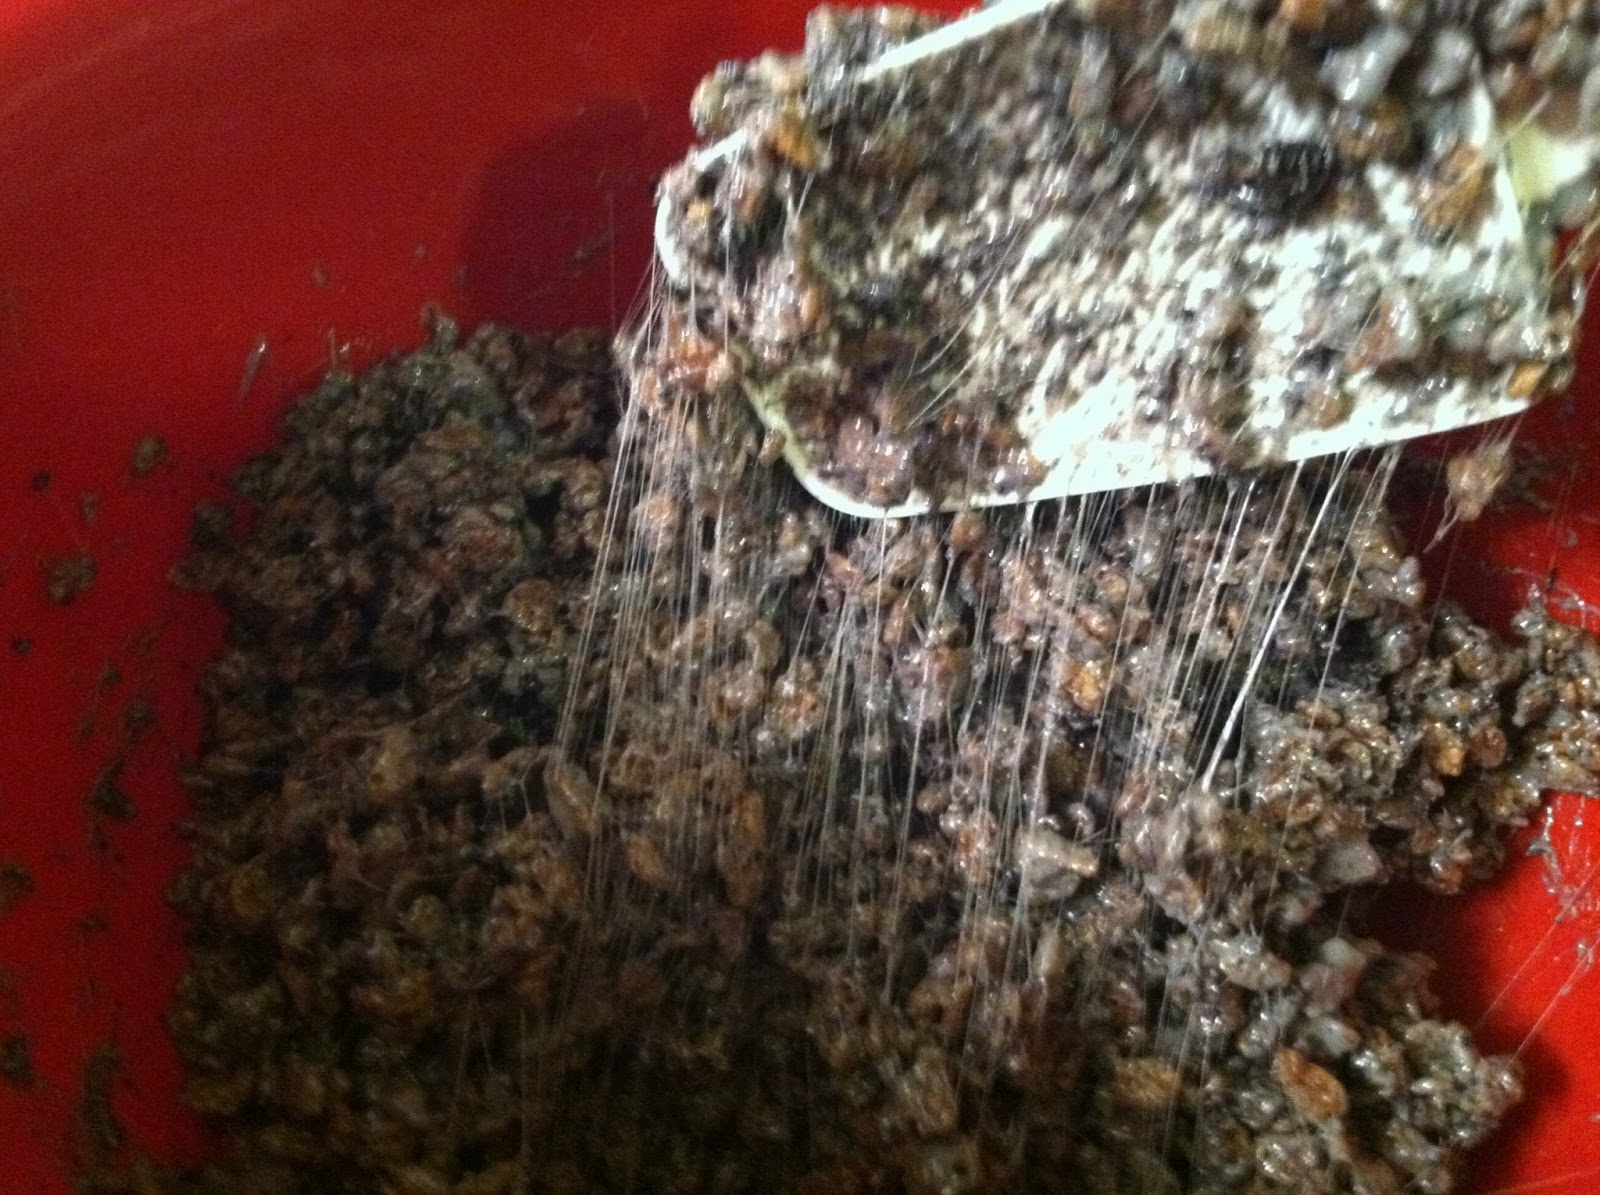
Ooey gooey goodness!


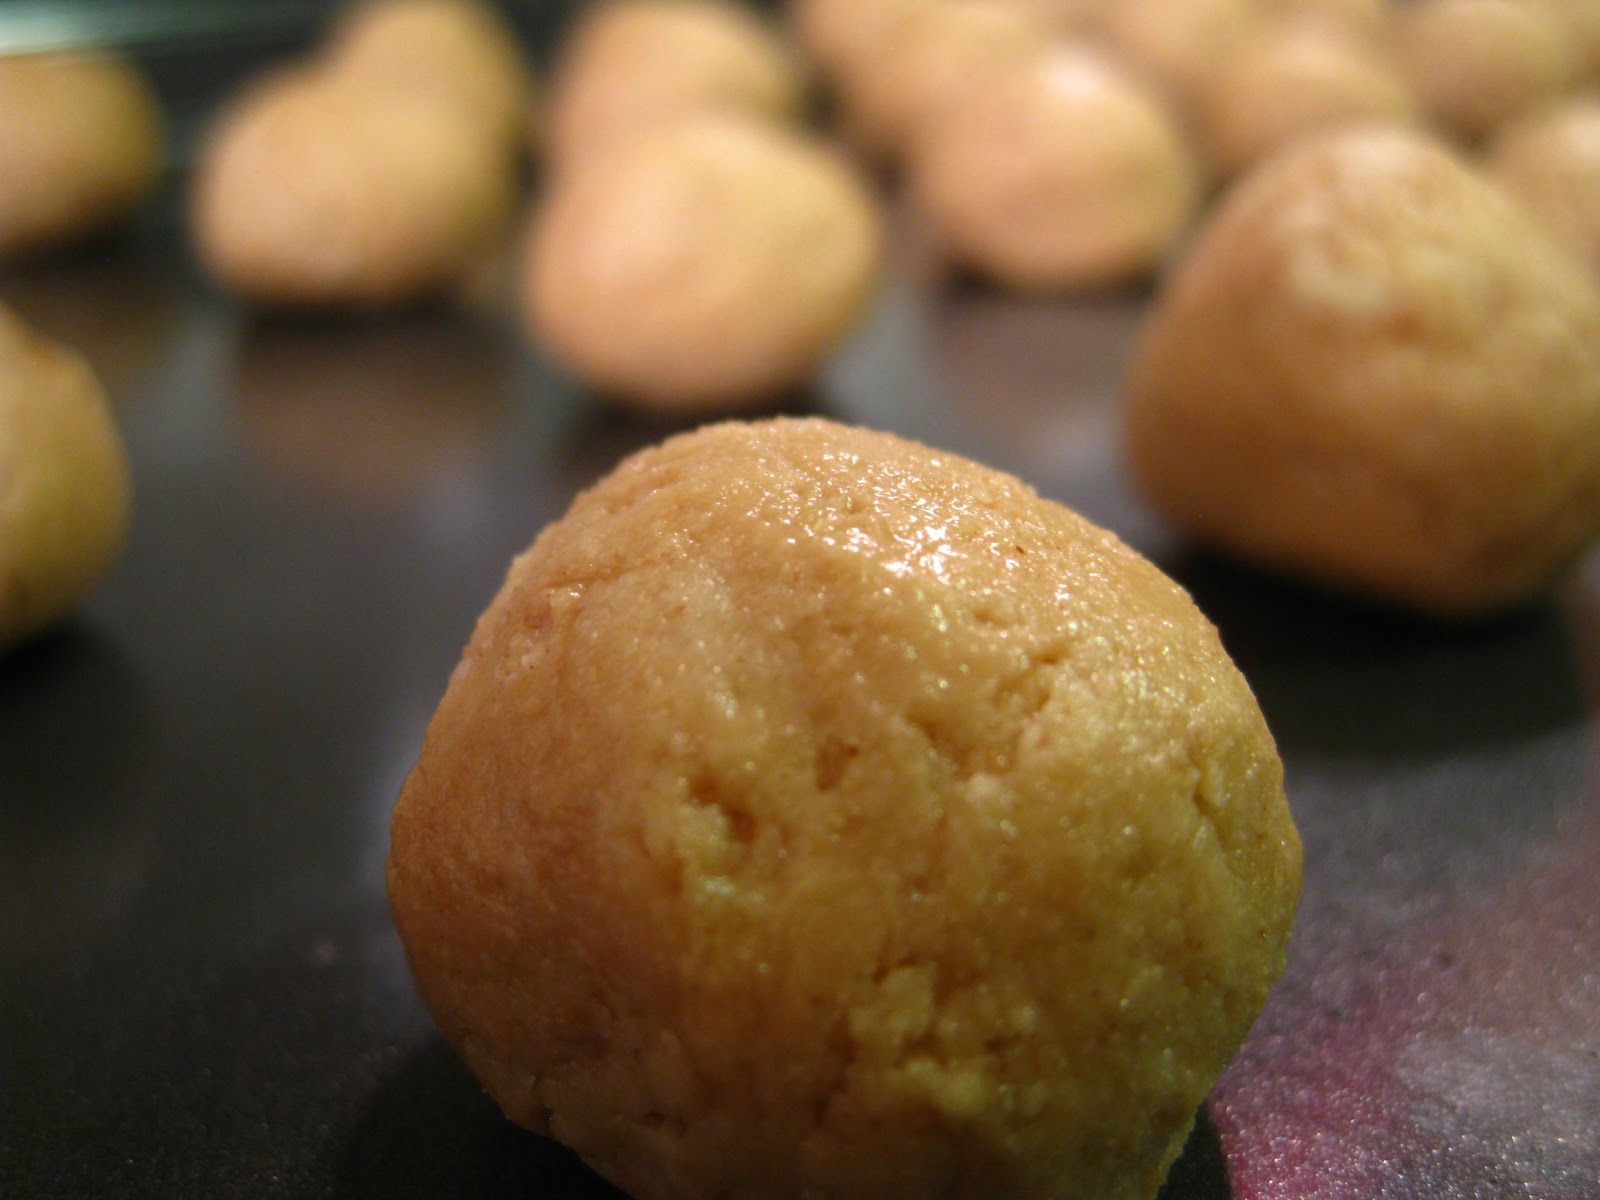
Once it's all mixed, take spoon fulls and drop them onto a cookie sheet or parchment paper. No need to form them into nice shapes, they're supposed to look like lumps of coal! 


I found it easier to get a large scoop with the spoon and sort of let it drip off the spoon. 


Within 20 minutes they should be cooled off enough to put them into a container or just eat them! You could even pop 'em in the fridge for a bit to speed up the process. 


Yum. 


Toss a few into a nice Christmas container and there you go...easy and delicious Christmas treat! These would be great at a party or as little gift!


What do you think...original Rice Krispies treats or these "coal" ones? I've gott say it's a close race in my book! They're both so good!

Be sure to check out the rest of our DIY Christmas Series! 

Till next time,
Catherine
Holiday_Badge

Friday, March 8, 2013

Cook-Strawberry Yogurt Pops

I just KNEW I had to have this popsicle tray for a reason! Not to mention World Market had it on sale! It was only a few bucks and I just couldn't resist. Luckily Pinterest inspired me early on last summer to make my own version of THIS

My version was a bit simpler but just as tasty! 

Ingredients:
  • Strawberries (blueberries, blackberries, raspberries...whatever you prefer!)
  • Vanilla yogurt
  • I'd also recommend a sweetener like honey or agave, to taste


Directions:

Puree your fruit in a blender (after washing it, of course). 

Alternately spoon yogurt and the fruit puree into the popsicle mold. You can also swirl it around with a spoon if you want it more mixed. 

Freeze.

Enjoy!

Keep this in mind for the summer months when it's hot! It's going to be quite a lovely weekend and upcoming week with highs in the upper 50s and low 60s! Enjoy your weekend everyone! :)

Got any fun plans this weekend while the weather is nice? 

Till next time,
Catheirne


Monday, December 3, 2012

Bake: Soft & Chewy Healthy Cookies


I never bake cookies! I'm not sure what possessed me to make these. No wait, yes I do. My husband and I went to the gym on a Monday and on Tuesday he said, "You know what I really want? Cookies! We should make cookies!" Well hot dog, let's cancel out that workout! 

I jumped onto Pinterest to see if I could find a good cookie recipe and sure enough I was able to find one where we actually had the ingredients! Apple A Day posted a great recipe that guarantees the softest, chewiest, most delicious chocolate chip cookies! As usual, I altered the recipe a little, but the original recipe can be found here

Her recipe calls for all purpose flour, we only buy whole wheat. The original recipe also says chocolate chips but all we had were white chocolate! No matter to me, still delicious. Surprisingly I actually had exactly the right amount too! And I always use raw sugar instead of that bleached crap. She also uses a stand mixer in her recipe. I'm not fortunate enough to have one of those quite yet but the recipe works without one! 

Onward to deliciousness!

Ingredients: 
  • 3/4 cup unsalted butter, softened
  • 3/4 cup brown sugar
  • 1/4 cup granulated sugar
  • 1 egg
  • 2 teaspoons vanilla extract
  • 2 cups whole wheat flour
  • 2 teaspoons cornstarch
  • 1 teaspoon baking soda
  • 1/2 teaspoon salt
  • 1 cup white chocolate chips, or regular chocolate, dark chocolate, even peanut butter chips


Directions:

Preheat your oven to 350 degrees. It will be ready by the time you're done putting the cookie dough onto the cookie sheets. 


Soften your butter, or in my case, soften half and melt half...oops. Mix together the butter, brown sugar, and regular sugar. 


It should be fairly creamy. 


Then mix in the egg and vanilla. If you look closely between these last two pictures, the egg thickened the mixture.


Now mix in your flour, corn starch, baking soda, and salt. Don't forget the salt!


I found it easier to add in the chocolate chips after a dough formed. It should be thick and not sticky.


Make small cookie dough balls and arrange them on your cookie sheet. I used a tablespoon to measure out the same amount for each. 


They don't spread out very much but allow them to have space. 


Put them in the oven for 8-10 minutes. The original recipe says no more than 10 minutes and I ended up doing an extra 5 because it didn't look like they were done. I was deceived by the color because of the whole wheat flour! If you use regular flour, you'll see the edges brown but not the top. That's done enough! Unless you want them crunchier. If you use whole wheat flour, just take them out at 10 minutes...they'll be done. 


Take them out and put them onto a wire rack but put the rack on top of the cookie sheet for about 5 minutes. Then you can put the wire rack on the counter or wherever to cool down the rest of the way.

Delicious! My batch made about 29 cookies but the original recipe says 3 dozen. Hers must have been a bit smaller than mine! My cookies ended up being a bit crunchy but still delicious! 

I didn't get any creative pictures because I wanted to wait till they were cooled off so as not to burn myself! I ended up forgetting to get pictures after that and by the time I remembered they were all gone! My father-in-law and brother-in-law came to visit and they devoured them! Guess I'll just need to make another batch!

Do you prefer soft, chewy cookies or crunchy ones? Do you have a favorite recipe for classic chocolate chip cookies?


Till next time,

Thursday, November 1, 2012

{No} Bake: Easy Peanut Butter Truffles!

Each day this month I will write a quick note about what I'm thankful for, along with regular posts! I encourage you to say what you're thankful for every day this month as well. Put it on Facebook, Twitter, your blog or in your personal journal. Just try it and see how it lifts you up this month!

Today I'm thankful for my husband. He is an amazing provider for us and is always looking out for our best interest. He spoils me, loves me, and cares for me in every way. I couldn't possibly ask for anything more in a husband! I truly look forward to the next 50+ years together. I know we will have hard times and we may fight, but our love is stronger than all that nonsense. With God at the center of our marriage, we'll make it through anything. 

On to the recipe!

This is another quick and easy NO BAKE recipe that was found on Pinterest of course! I love finding recipes and projects and then adding a little of my own twist on them! In this case, I used the recipe as is. Sometimes you just don't mess with a good thing! These are no bake peanut butter truffles! I found the recipe from Six Sisters Stuff. They've got some awesome stuff for sure! The original recipe is here but I'll give you the recipe as I did it with some more pictures!  I halved the recipe because the original made so much! My recipe made about two dozen which was plenty.

Ingredients:

  • 1/2 cup (one stick) butter, softened (I used unsalted)
  • 2 cups powdered sugar
  • 1/2 cup-3/4 cup of peanut butter (add more if you love peanut butter!)
  • 1/2 sleeve of graham crackers, about 4 full sheets
  • Melted dipping chocolate in whichever flavor you prefer
Directions: 

First, crush the graham crackers. I tossed them in my blender and it was done in no time! You could also use a food processor or put them in a bag and crush them by hand. 

Mix all of the ingredients in a medium bowl. 


Mix everything thoroughly. If you have a stand mixer it would be a cinch but I only have a wooden spoon and some elbow grease! 


Roll the dough into 1" balls or really, however big you want them. 


Pop 'em in the freezer for about 15 minutes or so, till they're more solid. 


When they're almost done in the freezer, get your chocolate out. I didn't have melting chocolate, just morsels so I used what I had. Dark chocolate and white chocolate. Yum! The white chocolate doesn't melt very well so I added in some milk to thin it out a little. 


Then just roll them in the chocolate and set them back onto the pan. Back in the freezer till the chocolate hardens and enjoy!


Is your mouth watering yet?


Go make them! 

An easy treat to enjoy anytime! They're so delicious and easy to make! 

What's your favorite no-bake treat? Do you bake like crazy during the holidays? 

Till next time,
Catherine


Fluster Buster