//Google Analytics
Showing posts with label Christmas. Show all posts

Monday, December 16, 2013

DIY: 4 Step Gift Bag {Guest Post}

A couple weeks ago I shared how to make gift boxes out of cardboard tubes, you can read that post HERE. This week I've got one of my favorite bloggers guest posting for me with her 4-Step Gift Bag tutorial! Pam from Brown Thumb Mama has an awesome blog about gardening, thrifty living, recipes and lots of laughs. Be sure to "like" her Facebook page too!


I hate wrapping presents. Searching for paper, finding boxes, awkward-sized packages...and don't get me started on the ribbons, bows, and foofy decorations. Gack. A couple of years ago, I decided to make gift bags of all sizes to use for Christmas presents. Keep in mind that I'm not a very good seamstress, so this was a big accomplishment for me! I decided that a little bit of work up front would give me years without wrapping paper. It was too good to be true! Yes, yes it was. I realized at the end of the day that nobody had returned the bags their gifts were in. So here I am, sewing up another set of gift bags. This time I took some pictures so you can make them too. You will need: Fabric Thin ribbon for the drawstring Sewing machine Iron Measure the size of your gift. (This seems obvious, but if you saw the first batch of too-small-for-anything bags I made you'd understand.) Give yourself at least an inch of space all the way around, and cut out the desired shape.

1. Start with the Quick-Fold Trick

Turn the fabric over so you're looking at the wrong side. Fold the top two inches over so the fold runs off the side of the fabric. Pop it with a hot iron so the fold will stay. Sew down the middle of each fold and run the stitches straight off the edge of the fabric. Repeat on all four corners.

2. Sew up Sides and Top

Run a straight stitch up from the bottom to close up the sides, stopping when you get to the folded part. Fold over about 1/4 inch of each top flap, iron it so it stays, and stitch across.

3. Finish Drawstring Tunnel

Fold down each of the top flaps, and sew all the way across to make the drawstring tunnel. Don't sew the bag shut (ask me how I know). Repeat on the other side.

4. Add the Ribbon

Thread the ribbon through one side of the tunnel, across the "jump," and out the other side. Knot the ends. Repeat, starting the ribbon on the opposite side, so you can pull the knots to close the bag.


And you're done! Jackjack suggests that you stuff the bag full of good presents.


Drawstring bags have tons of uses beyond Christmas presents. Use a light muslin and make produce bags to take to the farmer's market, or pick out a fun print and make a bag for the kids' blocks, or whip up birthday party goodie bags.


Hi! I'm Pam, otherwise known as BrownThumbMama. I'm a corporate writer by day, hobby gardener, avid reader, and housework avoider by night. 

I'm here to show that everyday, working moms and families can enjoy good health and nutrition while living a thrifty life. I give examples, recipes, and real-life stories of our family to show how we do this. 


Thanks for guest posting for me Pam! I'll be making some of these bags for sure! I may wait till after Christmas this year so I can get fabric that's been marked way down ;-) 

Till next time,
Catherine

Wednesday, December 11, 2013

{Wedding Wednesday} How to Survive the Holidays as a Bride-to-Be (Guest post)


I'm lucky enough today to welcome back Ali from PunkWife.com to Wedding Wednesday! She's always so full of wonderful bridal tips! Click HERE for her previous Wedding Wednesday post! Ali is the author of The Bitch's Bridal Bible, a fabulous, no nonsense guide to being a bride! 


How to Survive the Holidays as a Bride-to-Be

Heading into the holidays as a bride-to-be is exciting! But let’s be realistic: you’re probably also worried about protecting your budget, avoiding a muffin top, and escaping other stressors (family drama or running around like a crazy person, anyone?) But with some planning ahead, and a little care-taking, you can still indulge this season and keep the stress levels down! Consider the following suggestions on how to survive the holidays as a bride-to-be:  


1.     Gifts. Consider letting family know ahead of time that you will be a little more resourceful this year with gift giving, and that you may even DIY your gifts. Just be sure to stay within you limits of crafts-pertise to avoid any stress. (“They are my special Christmas socks I knitted for you little Mary! You just have to hold them up as you walk for them to work. Merry Christmas!”)

2.     Being cornered. Oh, Aunt Bertha, with your Merlot breath and endless questioning. Want to know why I’m having such a long engagement? Because DO YOU WANT TO PAY FOR MY WEDDING? I understand that the price per head in your day was $8.25, but you should really move that decimal point one spot to the right and then add $100. Now give me some of that wine because hearing myself say it out loud like that made me thirsty. (You’re in close corners with family you see maybe twice a year, so there’s not much you can do to escape this other than pull the string on your Chardonnay chute and deal.)


3.     Food. Consider “pre-gaming” before you attend your holiday party – but put down the eggnog you silly bride, you. The phrase takes on a whole new meaning this year. I’m referring to snacking at home first before heading out the door. Going to a holiday party hungry is the equivalent of going grocery shopping hungry. Everything looks amazing, and you are likely to devour it all. I’m not saying this is a bad thing. However, if you are a conscious bride and think you may beat yourself up later on for splurging, think ahead.

My grandma always says that when you have two parties to attend in one day, consider which one always has the best desserts and go there last. If you have multiple stops to make, this is the one year you probably want to play the reverse card and avoid any temptation. You can make up for it next year. 

4.     Skin, hair, nails. Depending on where you live, the holidays can also bring about a wrecking ball of dryness and brittleness to your skin, hair, and nails – coincidentally, all of the things you wish to look beautiful in time for your wedding. There’s no magic product or quick fix for this; the most effective formula here is the following: Moisturize. Get sleep. Be nice to yourself. And avoid stress as much as possible. Which brings me to #5…

5.     Stress. The last thing you need during wedding season is added stress. Numbers 1-4 contribute to the stress issue, and it can be hard to unwind or maintain your inner Zen amongst all the crazy. It may be finances on your mind, work deadlines, or family drama (times two this year, since you are now a part of your husband’s family, as well.) Carve out some time to decompress and relax yourself as you know how, whether it be practicing yoga, pounding the treadmill, or zoning out on the couch catching up with your DVR. And have fun wherever possible, because isn’t that what this time of year is supposed to be about?


Lastly, as you enjoy all the festivities, remember to make some time to enjoy the holidays with your future hubby. Depending how long your engagement is, it may be the only holiday you get to be a glowing bride-to-be. Make memories. Make traditions. But whatever you do, don’t make yourself crazy.


Author Bio: Alessandra Macaluso is author of "The Bitch's Bridal Bible: The Must-Have, Real- Deal Guide for Brides," available on Amazon and Kindle. A creator at heart, she is an avid writer of screenplays, articles, and business/product reviews. She has contributed to Uptown Magazine, Charlotte Magazine, and Yelp.com, among other publications, and was featured in the New York Times “Life and Style” section for her review of Ulta Beauty. Her original screenplay, “Polar Suburbia”, placed as a semi-finalist in the 2009 Moondance Film Festival. To learn more about Alessandra you can visit her blog at www.punkwife.com or visit her Google Author Profile.


That last line is on the money! Don't make yourself crazy! Thank you Ali for another wonderful post!! You're welcome back ANY time! :)

How is being a bride stressing you out more than normal during this holiday season?

Till next time,
Catherine


If you're a fellow blogger and are interested in guest posting for this series, shoot me an e-mail at CatherinePageWood@gmail.com! Or, even if you're not a blogger and would like to share your wedding story or advice, send me an e-mail! I would LOVE to share your stories!


If you liked this post, be sure to check out the other editions of Wedding Wednesday!


Thursday, December 5, 2013

DIY: Cardboard Tubes Turned Gift Boxes


Holiday_Badge
 I originally wrote this post last year but I wanted to bring it back for The Skinny Pear's DIY Christmas Series! Be sure to check out the other fantastic posts by fabulous bloggers! You'll be able to DIY all of Christmas this year! 


How cool would it be to go from this: 

(via)

To this: 


I had seen this idea on Pinterest and decided to try it for myself. I got the original idea from the blog Sweet Charli specifically. It was really quite simple and fun to do! 

I don't know about you but I'm always in need of a small gift box whether it's for jewelry or a gift card and these are the perfect size! You can customize them for Christmas, birthdays and more! You could even use them for party favor packaging! 


Supplies:
  • Clean cardboard tubes
  • Ribbon
  • Twine or pretty string
  • Scrapbook paper
  • Hot glue gun/glue or tape
  • Scissors
  • Tissue paper

 Directions:


Fold one end of your cardboard tube in. Think like you're trying to close one of those paper coin rolls from the bank. 


Fold in the other half. Secure it down with hot glue or tape. When you've got that locked down, wrap your gift in a small amount of tissue paper and stick it inside. Fold and secure the open end of the tube the same way as the first one. 


Now decorate them however you'd like! I used an extra piece of scrapbooking paper from another project  and wrapped it around, securing it with hot glue. I also used a small length of ribbon my husband had saved from a gift he received. The man knows me. 


For this one I used a thicker piece of the same scrapbook paper and different ribbon. I just switched the directions of the ribbon and paper from the previous box. If you don't want it to be as obvious that it's a cardboard tube, just wrap the whole thing in scrapbook paper. Chances are people won't even notice! Generally people are more focused on what's inside! 

I love this idea because the possibilities of design and decoration are endless! You can even bust out that Bedazzler you've been dying to use! ;-) 


What are some other unique ways that you like to wrap gifts?

Till next time,
Catherine


Holiday_Badge

Sunday, November 24, 2013

Cook: Sweet Potato Casserole

This is my second post on the DIY Christmas Series that a great group of blogging friends and I are doing! Be sure to check out all 30 days of great posts! My good friend Joyce over at The Skinny Pear is the mastermind behind this awesome series to get you ready for Christmas with all things DIY!

Holiday_Badge

Simple, classic, delicious = Sweet Potato Casserole

Sweet potatoes are incredibly healthy for you so this is a healthy side dish to serve at Thanksgiving or Christmas...or, ya know...any time! And yes there may be a lot of sugar in this recipe but there's no need to be afraid of organic, unbleached, raw sugar! Or, your favorite healthy sugar substitute!

The original recipe came from MyRecipes in a list of 70+ Thanksgiving favorites. I tweaked a few of the ingredients though, as usual. 


Classic Sweet Potato Casserole

Ingredients: 
  • 4 1/2 pounds of sweet potatoes
  • 1 cup raw sugar (I actually used a little less than a whole cup, sweet potatoes provide a lot of sweetness on their own!)
  • 1/2 cup softened butter
  • 1/4 cup milk
  • 2 eggs
  • 1 tsp vanilla extract
  • 1/4 tsp salt
  • 1 1/2 cups crushed flake cereal (Total or cornflakes)
  • 1/2 cup chopped pecans
  • 1 Tbs brown sugar
  • 1 Tbs melted butter
  • 1 1/2 cups mini marshmallows

Directions:


Preheat the oven to 400 degrees. Wash the sweet potatoes and cut them in half. 


Place them on a baking sheet and bake them for at least an hour. They may need to bake longer. You can test to see if they're ready by sticking a knife in each one. If the knife comes right back out, it's ready but if the potato stays on the knife, it needs more time. 


They'll look dry on the outside where they've been cut. When they're done baking, let them sit and cool for about 20 minutes or so. Drop the oven temperature to 350.


While the sweet potatoes are cooling off, whisk/mix together the sugar, butter, milk, eggs, and vanilla. Mine looks a little funny because the butter wasn't totally soft. No worries if that happens to you, it'll be fine later.


Also while the potatoes are cooling off, prepare the crunchy topping by smashing the flakes until you've got 1 1/2 cups then mix in the pecans and brown sugar. Drizzle the melted butter around it and continue to mix. You can set this aside.

I used Total instead of cornflakes because I wanted whole grains instead of corn. You can use whichever kind you prefer. I doubt it would make much of a difference in the flavor. If someone knows of a better "real food" version, please let me know!


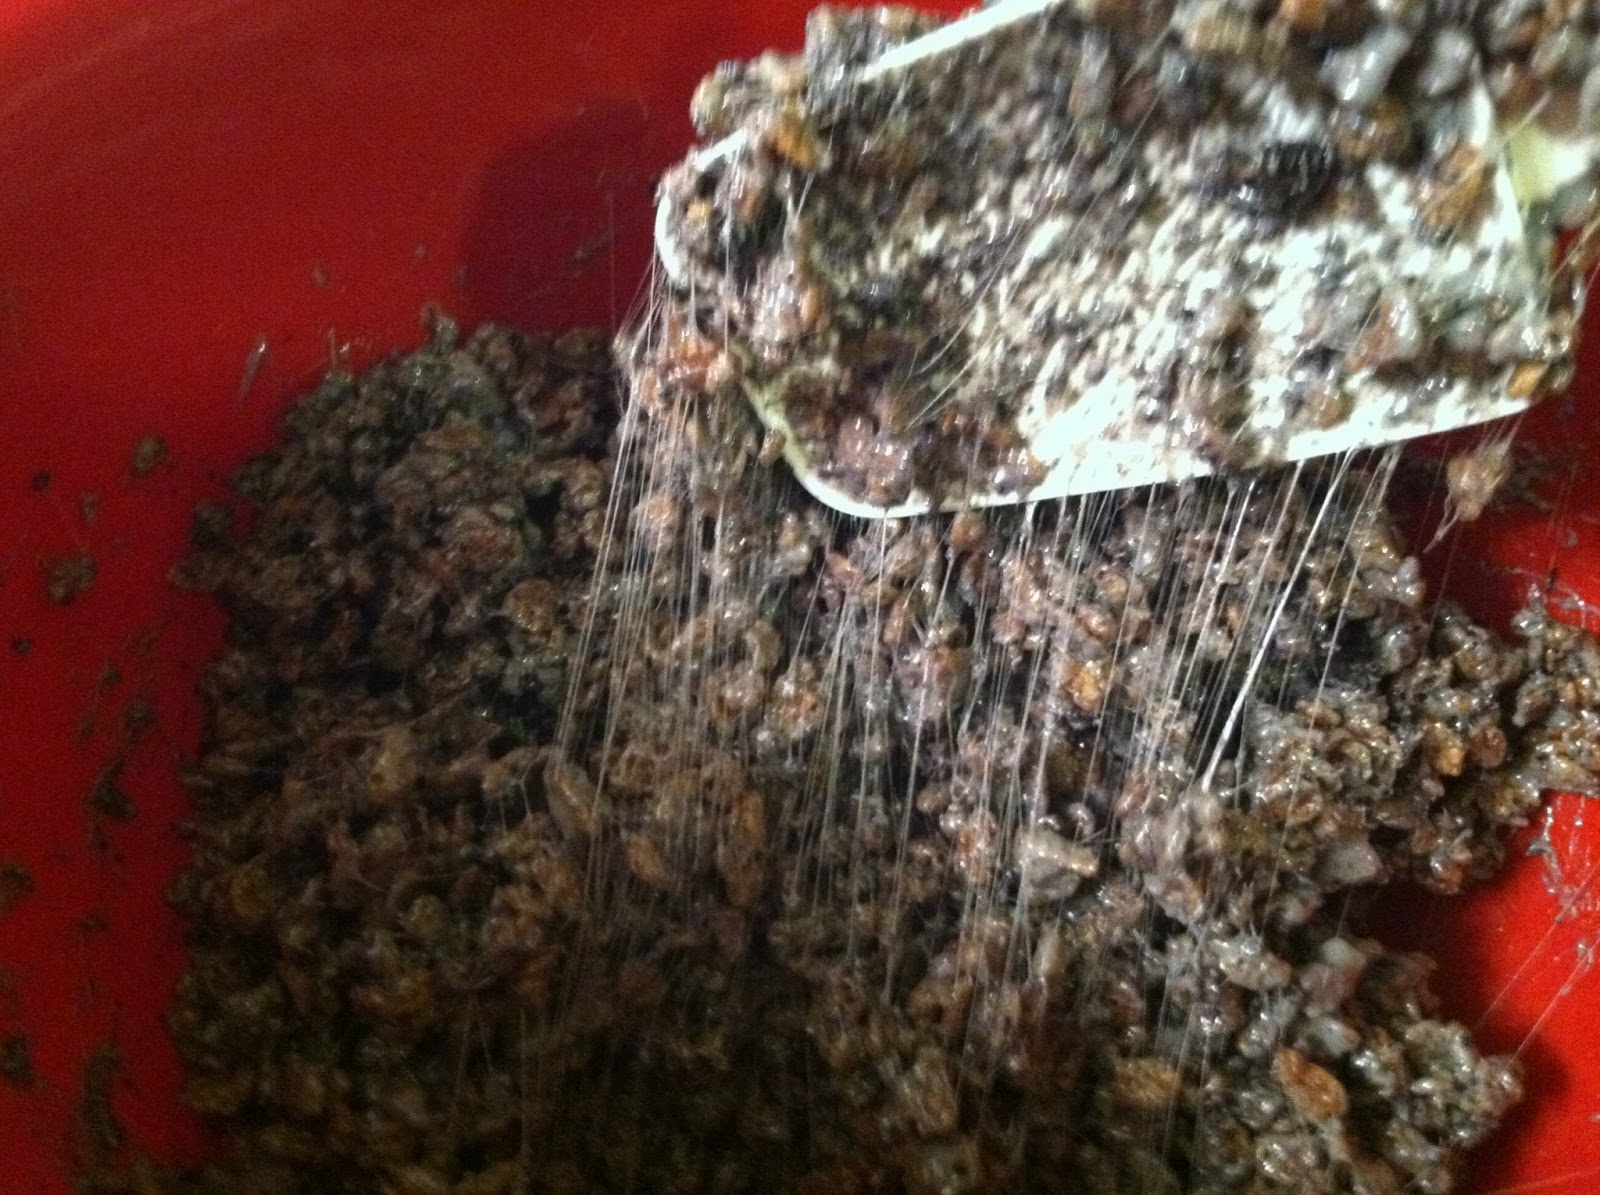
Now that your potatoes have cooled, take them and basically squeeze out the insides into a large bowl. The potato will come out of the skin pretty easily. 


You'll need to peel this part off because it's too hard to mix in well. 


For this step you can either use your electric hand mixer or your stand mixer, or just a good ol' fashioned potato masher. 


Stir in the mixture you made earlier. 


It will seem a little thin but it will be baked again so it will thicken up a bit. If you don't like the way that sounds still, don't add as much milk. 


Pour the sweet potato mixture into a greased casserole dish.  Spread it out evenly and sprinkle the crunchy topping in diagonal lines a couple inches apart. Bake for 30 minutes.


Let it stand for about 10 minutes then sprinkle marshmallows in the empty rows between the crunchy topping rows.


Bake for another 10 minutes or until the edges of the marshmallows begin to brown.


Let it cool and enjoy! I'm sure this will be as big of a hit with your family as it was with mine! 

What's your favorite side dish for holiday dinners? 

Till next time,
Catherine

Holiday_Badge

Thursday, November 21, 2013

{No} Bake: Christmas "Coal" Rice Krispies Treats

Holiday_Badge

It's time for my third installment of the DIY Christmas Series I'm participating in with a great group of blogging friends! My good friend Joyce over at The Skinny Pear is the mastermind behind this awesome series to get you ready for Christmas with all things DIY! 


Know someone who deserves some coal in their stocking this year? Don't know what to get them for Christmas? How about making them their very own coal? Delicious rice krispies treats coal! If you know how to make rice krispies treats then this will be easy for you. Even if you never have, it will be easy. It's an easy recipe that anyone can make. Not to mention it's a yummy little sweet treat! As usual, the original recipe can be found here but don't expect it to look like my version!

Ingredients:
*Side note: I used regular food coloring when I did this but I would highly recommend using a natural food coloring like this set from India Tree made with vegetable colorants or even activated charcoal powder.

Directions:


Melt your butter and marshmallows in a saucepan. The trick is to not get impatient (tricky for me) and keep it on low heat. You don't want them to burn!


Pour your Cocoa Krispies into a bowl. Crush your Oreos in a food processor or blender. I used a blender and it was quick. You could even get mint Oreos for another bit of flavor! One cup of crushed Oreos was maybe about 10 cookies. Oops, I forgot to count them first! It's not rocket science, though!


Stir the marshmallows frequently so they melt evenly. 


Mix in your food coloring and vanilla. 


When it's ready it will be nice and creamy. See how mine isn't quite black, but almost a purple-ish gray? Oops #2. Should have used more food coloring!


Now pour it over your Krispies and crushed Oreos mix. 


Try to "fold" more than "stir."


Ooey gooey goodness!


Once it's all mixed, take spoon fulls and drop them onto a cookie sheet or parchment paper. No need to form them into nice shapes, they're supposed to look like lumps of coal! 


I found it easier to get a large scoop with the spoon and sort of let it drip off the spoon. 


Within 20 minutes they should be cooled off enough to put them into a container or just eat them! You could even pop 'em in the fridge for a bit to speed up the process. 


Yum. 


Toss a few into a nice Christmas container and there you go...easy and delicious Christmas treat! These would be great at a party or as little gift!


What do you think...original Rice Krispies treats or these "coal" ones? I've gott say it's a close race in my book! They're both so good!

Be sure to check out the rest of our DIY Christmas Series! 

Till next time,
Catherine
Holiday_Badge