I never bake cookies! I'm not sure what possessed me to make these. No wait, yes I do. My husband and I went to the gym on a Monday and on Tuesday he said, "You know what I really want? Cookies! We should make cookies!" Well hot dog, let's cancel out that workout!
I jumped onto Pinterest to see if I could find a good cookie recipe and sure enough I was able to find one where we actually had the ingredients! Apple A Day posted a great recipe that guarantees the softest, chewiest, most delicious chocolate chip cookies! As usual, I altered the recipe a little, but the original recipe can be found here.
Her recipe calls for all purpose flour, we only buy whole wheat. The original recipe also says chocolate chips but all we had were white chocolate! No matter to me, still delicious. Surprisingly I actually had exactly the right amount too! And I always use raw sugar instead of that bleached crap. She also uses a stand mixer in her recipe. I'm not fortunate enough to have one of those quite yet but the recipe works without one!
Onward to deliciousness!
Ingredients:
- 3/4 cup unsalted butter, softened
- 3/4 cup brown sugar
- 1/4 cup granulated sugar
- 1 egg
- 2 teaspoons vanilla extract
- 2 cups whole wheat flour
- 2 teaspoons cornstarch
- 1 teaspoon baking soda
- 1/2 teaspoon salt
- 1 cup white chocolate chips, or regular chocolate, dark chocolate, even peanut butter chips
Directions:
Preheat your oven to 350 degrees. It will be ready by the time you're done putting the cookie dough onto the cookie sheets.
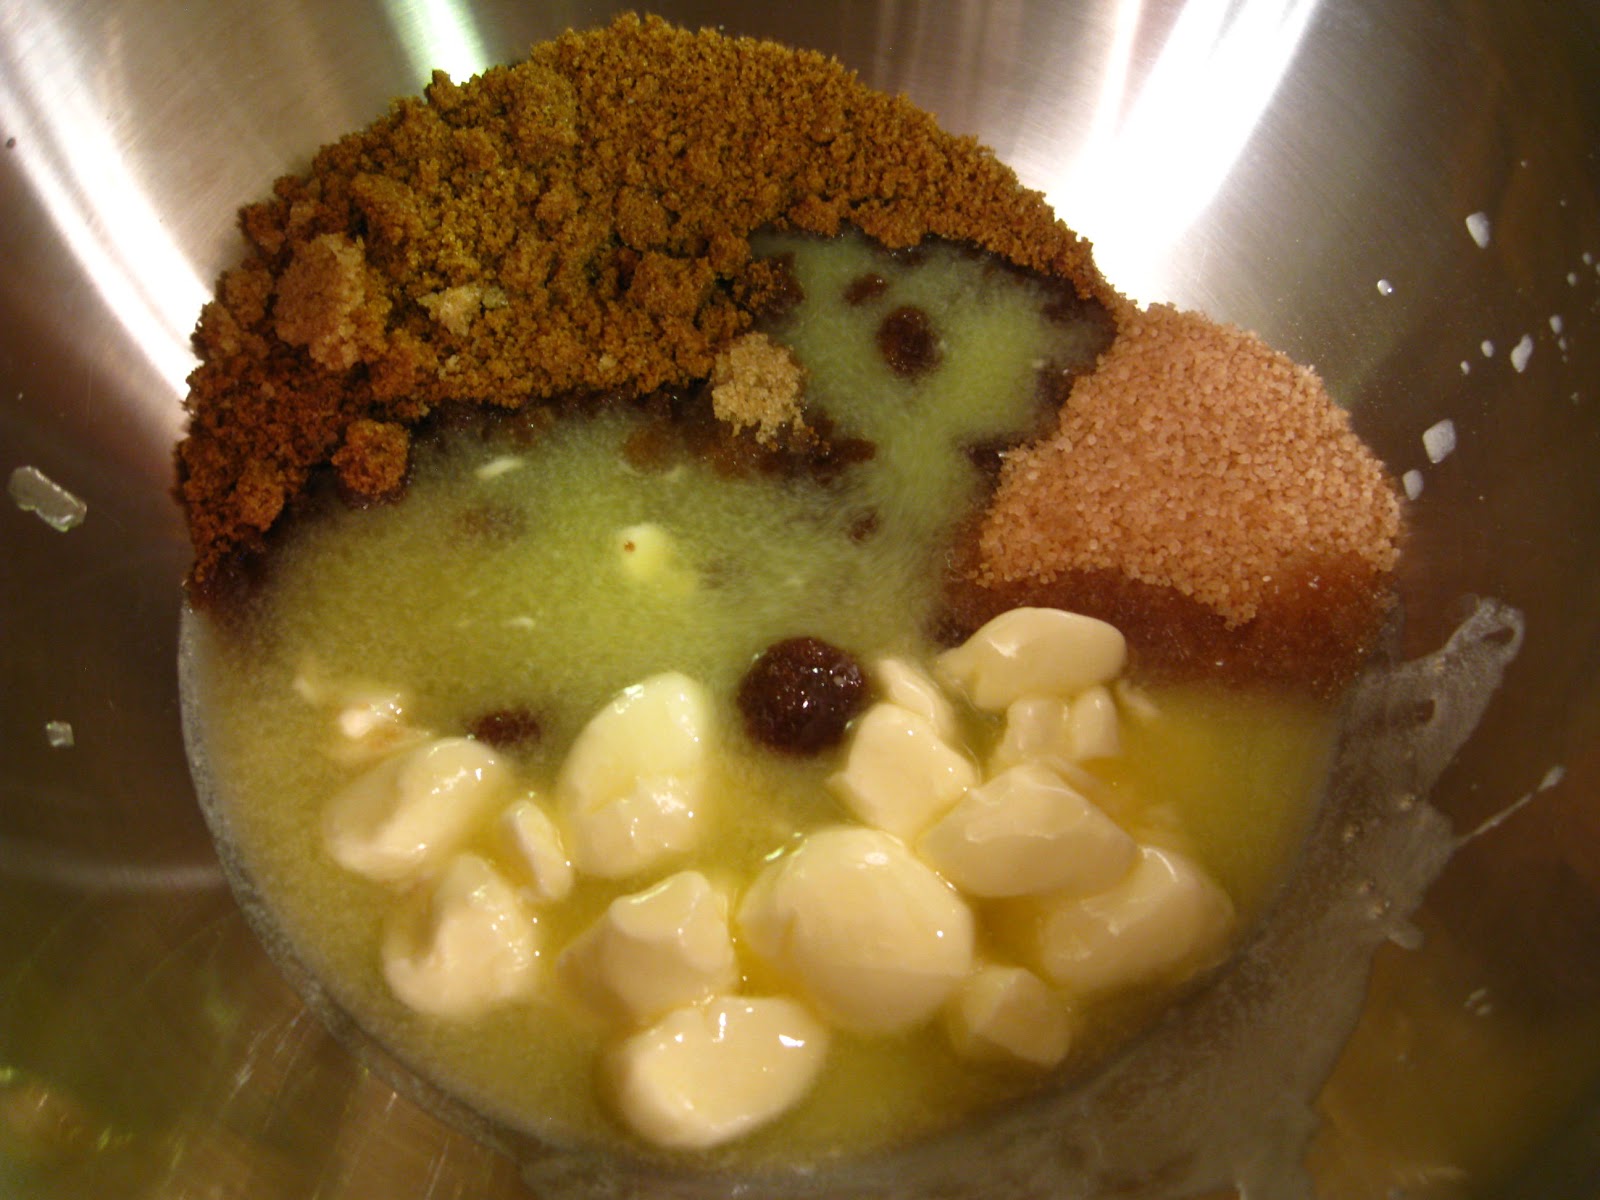
Soften your butter, or in my case, soften half and melt half...oops. Mix together the butter, brown sugar, and regular sugar.

It should be fairly creamy.

Then mix in the egg and vanilla. If you look closely between these last two pictures, the egg thickened the mixture.

Now mix in your flour, corn starch, baking soda, and salt. Don't forget the salt!

I found it easier to add in the chocolate chips after a dough formed. It should be thick and not sticky.

Make small cookie dough balls and arrange them on your cookie sheet. I used a tablespoon to measure out the same amount for each.

They don't spread out very much but allow them to have space.

Put them in the oven for 8-10 minutes. The original recipe says no more than 10 minutes and I ended up doing an extra 5 because it didn't look like they were done. I was deceived by the color because of the whole wheat flour! If you use regular flour, you'll see the edges brown but not the top. That's done enough! Unless you want them crunchier. If you use whole wheat flour, just take them out at 10 minutes...they'll be done.
Take them out and put them onto a wire rack but put the rack on top of the cookie sheet for about 5 minutes. Then you can put the wire rack on the counter or wherever to cool down the rest of the way.
Delicious! My batch made about 29 cookies but the original recipe says 3 dozen. Hers must have been a bit smaller than mine! My cookies ended up being a bit crunchy but still delicious!
I didn't get any creative pictures because I wanted to wait till they were cooled off so as not to burn myself! I ended up forgetting to get pictures after that and by the time I remembered they were all gone! My father-in-law and brother-in-law came to visit and they devoured them! Guess I'll just need to make another batch!
Do you prefer soft, chewy cookies or crunchy ones? Do you have a favorite recipe for classic chocolate chip cookies?
Till next time,
Catherine

I've linked up to Wellness Wednesday 10/16/13 with Intoxicated on Life, Nourishing Treasures, Raising the Barrs and Finding The Source!

I've linked up to Wellness Wednesday 10/16/13 with Intoxicated on Life, Nourishing Treasures, Raising the Barrs and Finding The Source!